 Step 3: Provide Optimizely access to accounts
The following steps for both platforms allow Optimizely the authority to manage the Optimizely B2B Commerce Mobile App on your behalf in the Apple and Google app stores.
You will first need to complete Step 2: Set Up Developer & Store Accounts if you have not already done so before proceeding with these instructions.
Apple - iOS
After completing the enrollment process, follow the steps below to enable Optimizely to manage the iOS app.
Store Account Access
- Go to https://appstoreconnect.apple.com.
- Select Users and Access.
- Click Add to add new user:
- First Name: Insite
- Last Name: Software
- Email: [email protected]
- Role: App Manager
- Check the box to allow access to developer resources
- Apps: All Apps
If your organization has multiple apps in the App Store, only make us the App Manager for the Optimizely Mobile App once it is created.
Apple Store Connect - API Access
- Log in to App Store Connect (apple.com) with the Account Holder user.
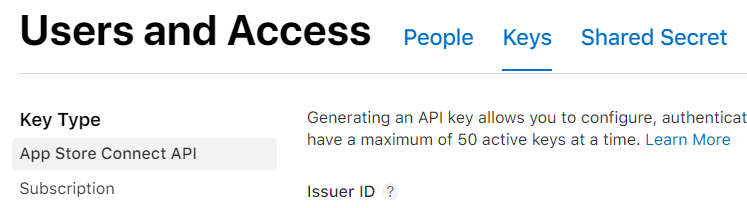
- Go to Users and Access.
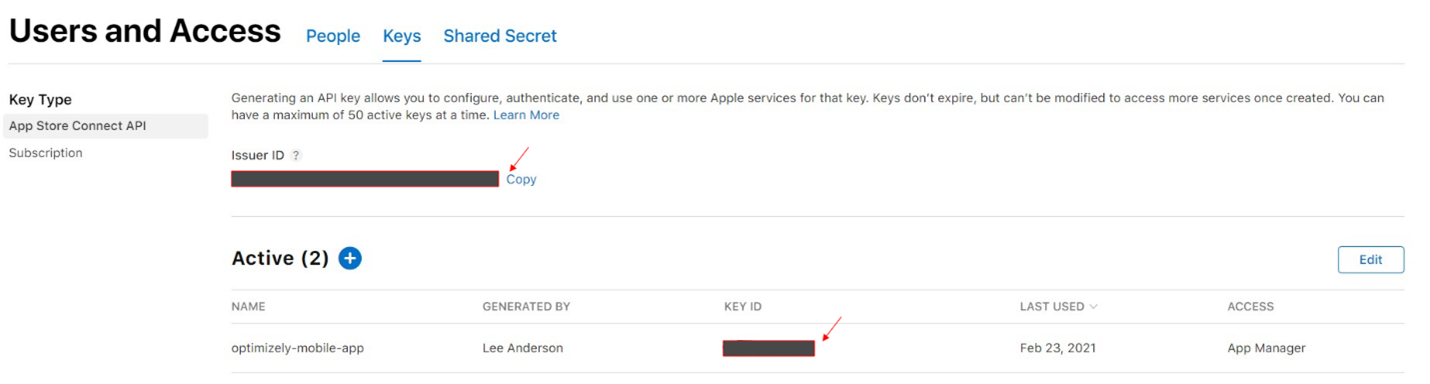
- Select the Keys tab.
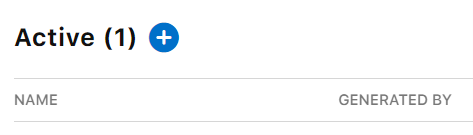
- Click Add.
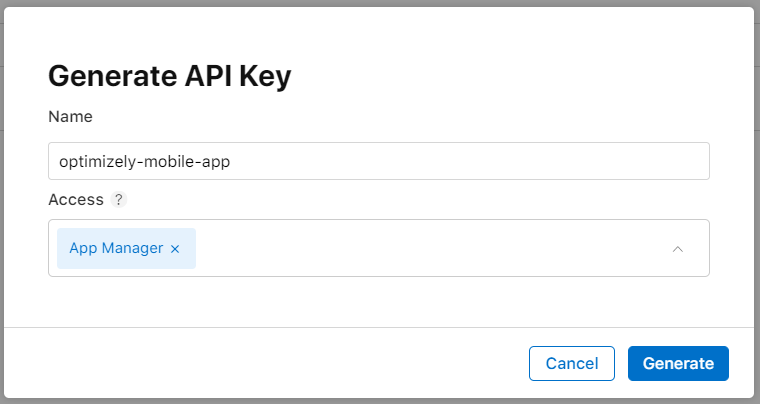
- Enter a Name, set the Access to App Manager and click Generate.
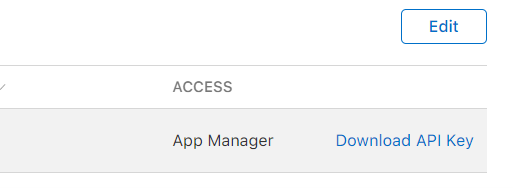
- Click Download API Key for the key you just generated.
- Send an email with the downloaded P8 file, along with the Issuer ID and Key ID to [email protected].
Google - Android
After completing the registration process, follow the steps below to enable Optimizely to manage the Android app.
Store Account Access
- Go to https://play.google.com/apps/publish.
- Go to Settings > Users & permissions.
- Click Invite New User.
- Specify [email protected] as the email.
- Select Release Manager for the Role.
- Click Send Invitation.
Google Play - API Access
This can only be completed by the Account Owner of the developer account. This will be the account that was originally used to create it.
- Go to Settings > Developer Account > API Access.
- Click Create New Project, unless the project is already linked, then skip to the next step.
- Click Create Service Account. It will inform you to go to the Google API Console. Select that link in the pop-up.
- Click Create Service Account.
- Type "Google Play" for the service account name, then click Create.
- Click Done.
- Select your newly created service account:
- Go to Keys tab
- Click Add Key, then click Create new key
- Make sure JSON is selected, then click Create
- A .json file will be downloaded. Email this file to [email protected].
- Go back to the Google Console tab and click Done in the pop-up
- Next to the new service, click Grant Access:
- Under Account Permissions, select Admin (all permissions)
- Click Invite User
If you encounter issues, submit a ticket and we will set up a call to provide assistance.