Commerce Cloud integration with Optimizely PIM
This topic describes how to install and configure Optimizely PIM (Product Information Management) for Optimizely Commerce. With the Optimizely PIM integration, you can manage detailed product information, and synchronize the data to Commerce.
About Optimizely PIM
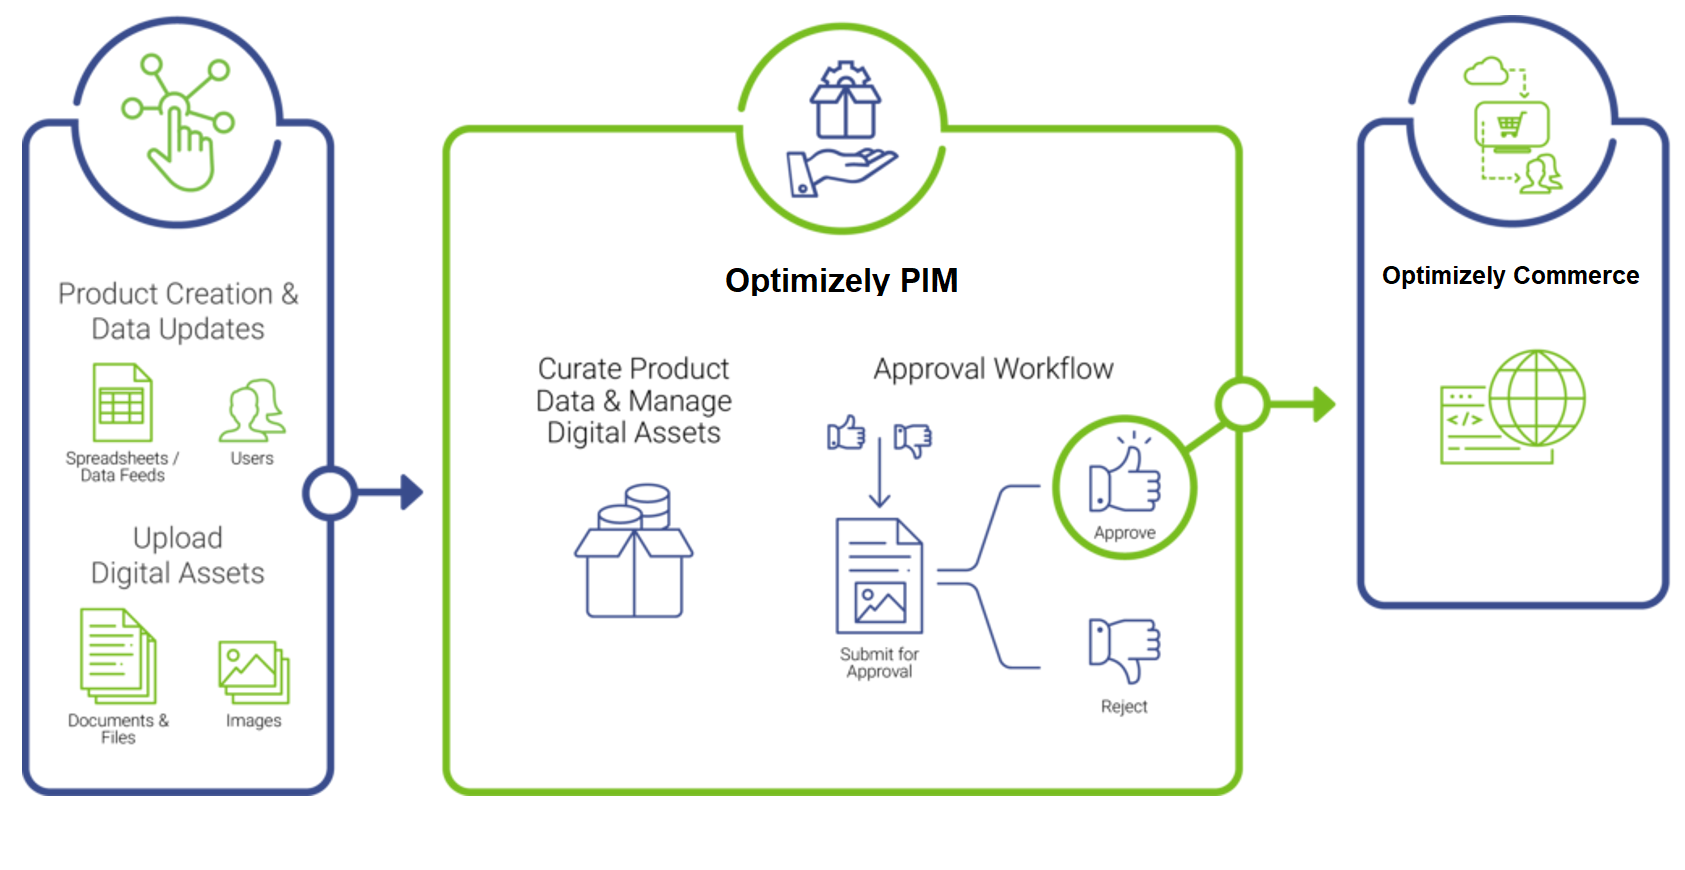
Optimizely PIM is built for convenient management of detailed product information like size, weight, color, and associated images. You can quickly set up the catalog and product data requirements and efficiently manage the data acquisition and curation process.
The integration contains a set of scheduled jobs described in the following, for synchronization of the information with Optimizely Commerce.
Installation and configuration
The PIM integration is added by installing the EPiServer.Commerce.PIM NuGet package to your Optimizely Commerce site.
The integration package contains the EPiServer.Commerce.PIM integration project, including a set of scheduled jobs for data synchronization.
Configuration settings
After installing the package, add these configuration settings to the <appSettings> section in the web.config file, and define values as described in the following.
<appSettings>
				<add key="episerver:PIM.Environment" value="" />
				<add key="episerver:PIM.ClientId" value="" />
				<add key="episerver:PIM.ClientSecret" value="" />
				<add key="episerver:PIM.NumberOfLookbackDays" value="" />
				<add key="episerver:PIM.APIAddress" value="" />
				<add key="episerver:PIM.TokenEndpoint" value="" />
		</appSettings>
Configuration keys
| Key | Description |
|---|---|
| episerver:PIM.Environment | Values: Production or Sandbox. Setting for current site environment. This must match the setting in PIM > Configure > Settings > Active Publishing Environment. |
| episerver:PIM.ClientId | Client ID key to connect to PIM API. |
| episerver:PIM.ClientSecret | Client Secret key to connect PIM API. |
| episerver:PIM.NumberOfLookbackDays | Number of days, used in Refresh mode to get product records based on the published date. Default value is 5 days. |
| episerver:PIM.APIAddress | Root URL of PIM API endpoint. |
| episerver:PIM.TokenEndpoint | Link to get token for accessing the PIM API endpoint. |
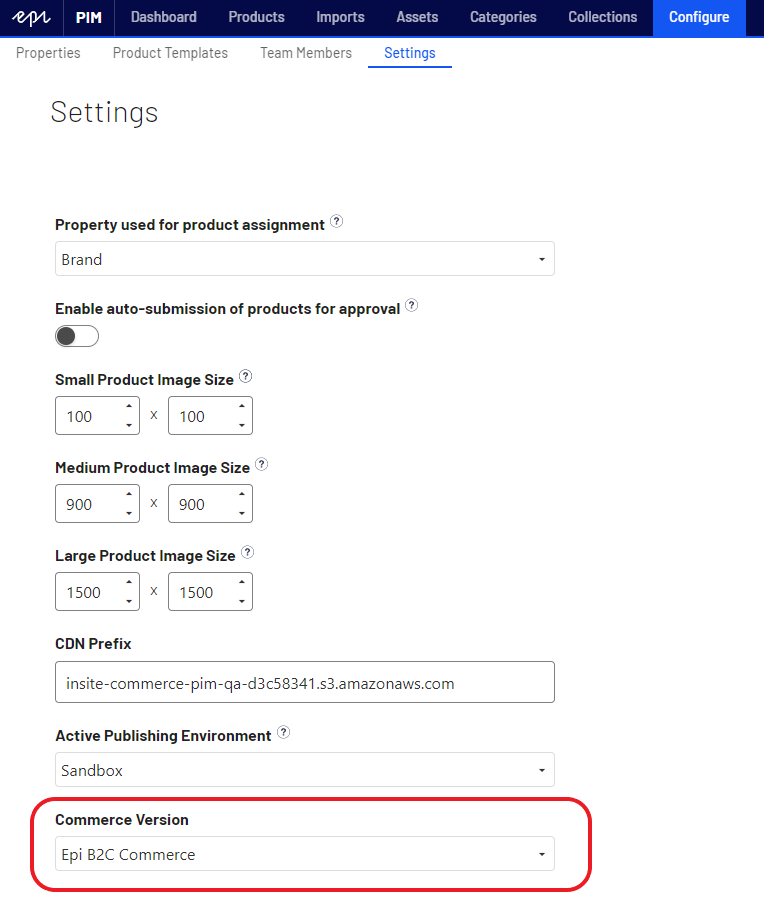
Setting Commerce version
You also need to set the Commerce Version in Optimizely PIM to Epi B2C Commerce. Open PIM and go to Configure -> Settings to set this.
Scheduled jobs
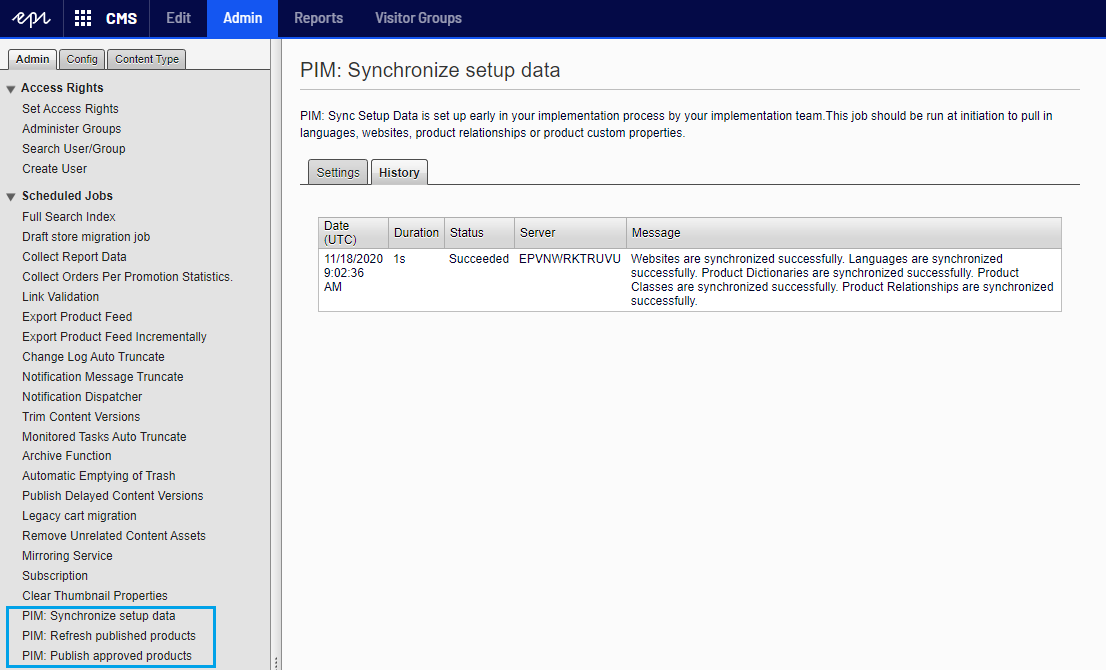
The PIM integration package contains a set of scheduled jobs for managing data synchronization with Optimizely Commerce. Scheduled jobs are managed from the CMS Admin view.
Synchronize setup data
PIM: Synchronize setup data is set up early in the implementation process by the implementation team. You should run the job at initiation to pull in languages, websites, product relationships, and product custom properties. Run the job from a Sandbox or Production instance, not a partner QA site, and run the job when new languages, websites, relationship types or product custom properties are added.
Publish approved products
PIM: Publish approved products runs whenever you want "Approved" products to be pulled into the "active" environment of your choice - either Sandbox (early in the project), or Production (once live). It pulls in products with the status "Approved", and then updates the status in PIM to "Published". The job can be set as recurring, or it can be run on-demand.
Refresh published products
PIM: Refresh published products keeps non-production environments synced with PIM as needed. It uses the lookback days parameter in the job to pull in products with "Published" status, and then based on the date last published into the environment you are running the job from. You also can use this for development environments. It should typically only be run on-demand.