 Creating categories
This topic is intended for administrators and developers with administration access rights in Optimizely.
In Optimizely CMS a category classifies content, such as for building filtering features for search and navigation. You create categories in admin view, and apply them to content in edit view.
A category is a built-in property in Optimizely CMS. You can apply categories to content, but you need to build the customized functionality for your website to display the resulting outcome, such as in a filtering. Also, do not confuse content categories with Optimizely Commerce categories; see Working with catalog entries.
Adding a category
Add a new top-level category as follows:
- Go to Admin > Configuration and select Manage Categories.
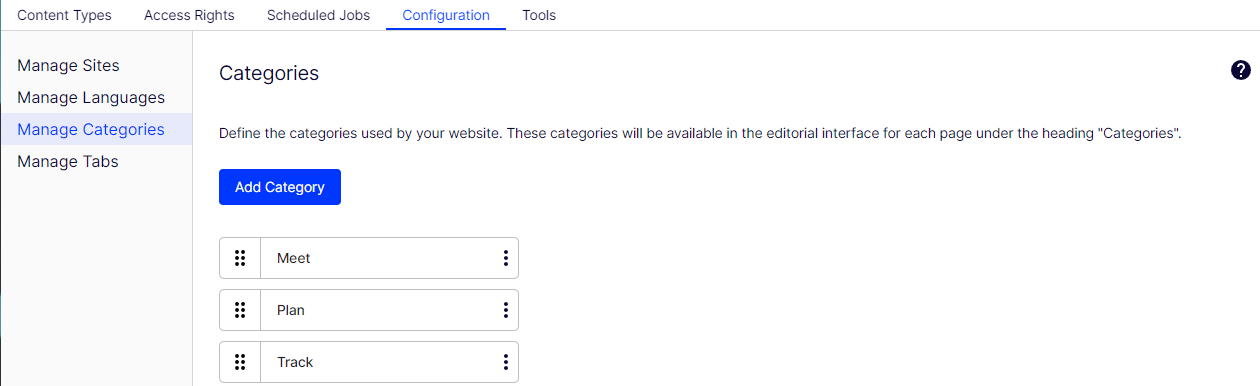
- Click Add Category.
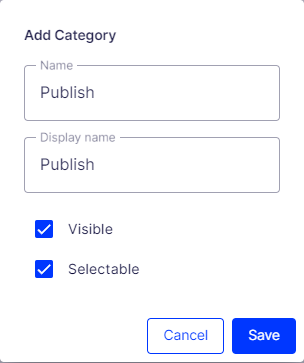
- Specify a name in the Name field. This name is used in code when building category-based functionality.
- Enter a name in the Display name field. This name is visible in edit view when a user selects categories. You can also language-encode this field.
- Select Visible if you want this category to appear in the Select Categories dialog box in edit view.
- Select Selectable if you want this category to be selectable in the Select Categories dialog box in edit view.
- Use the grab bars if you want to move this category higher or lower in the list. This sequence determines the order in which categories appear in the Select Categories dialog box.
- If you want to add a subcategory to a top-level, select Create Subcategory from the menu. Add the subcategory in the same way as the top-level category.
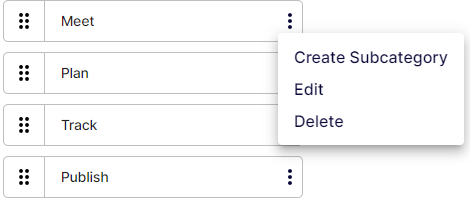
Deleting or changing a category
Depending on how a category is used on your website, changing or deleting a category may cause things to stop working. Check with your developer before changing or deleting a category.