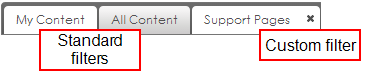
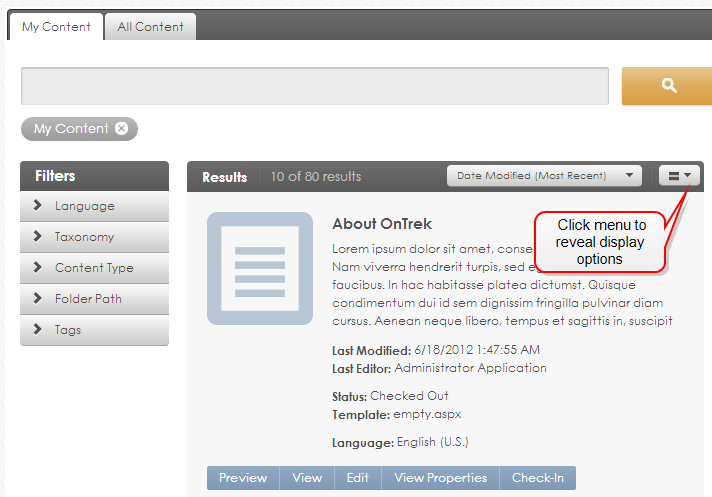
Filtering content
IMPORTANT: Content Dashboard filters are supported by Solr search. If you are using another search provider, results appear but filtering capabilities do not. See Also: Using Solr search.
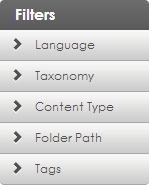
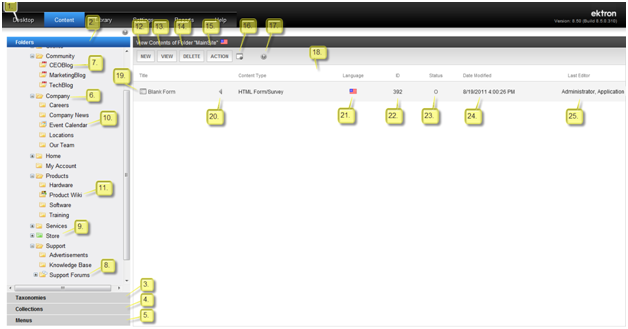
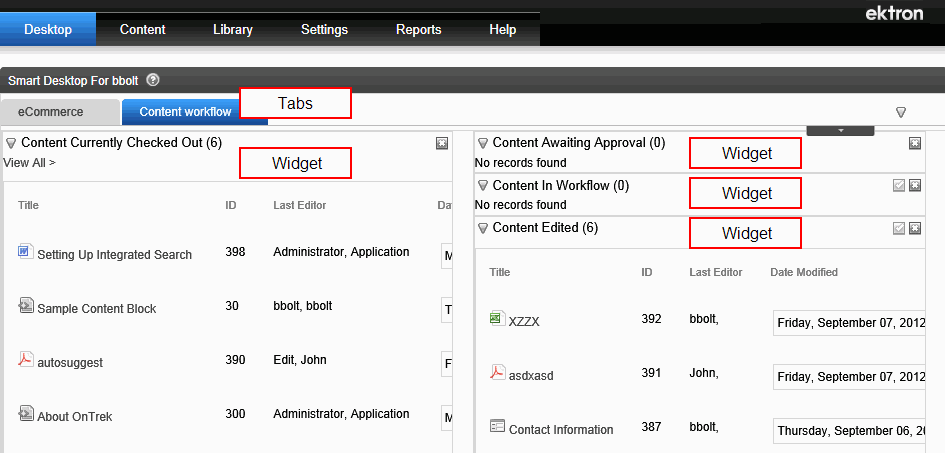
If you have a lot of content to sort and sift, use the Filters panel to narrow your search by opening the tabs and clicking filters.
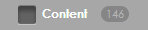
Each filter displays the number of content items to which it is assigned.
A filter is a property with a specific value. If you choose a filter, the search results refresh, and you only see content to which the filter applies. For example, the content's last editor is John Wang. If you choose that filter (by clicking inside its check box), the screen refreshes, and only content last edited by John Wang appears.
If you choose several filters, content only appears if it satisfies all filters and the search term(s).
If you choose a folder or taxonomy category, content within it and any of the child folders/categories appears.
Upon choosing a filter, the screen refreshes. If a content property can only have one value, it no longer appears in the filters display. For example, a content item only has one folder. So, if you choose the Solutions folder, the filters display hides all other folders. The filters display also hides unapplied editors.
On the other hand, more than one tag or taxonomy category can be applied to content. So, they continue to appear after you choose one of them.
If you want to add a hidden filter, remove the applied filters, and all available filters reappear.
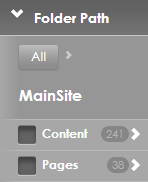
If an item has an arrow ( ), use it to expand the item tree for further refinement. For example, if you open the MainSite folder path, its subfolders appear, Content and Pages.

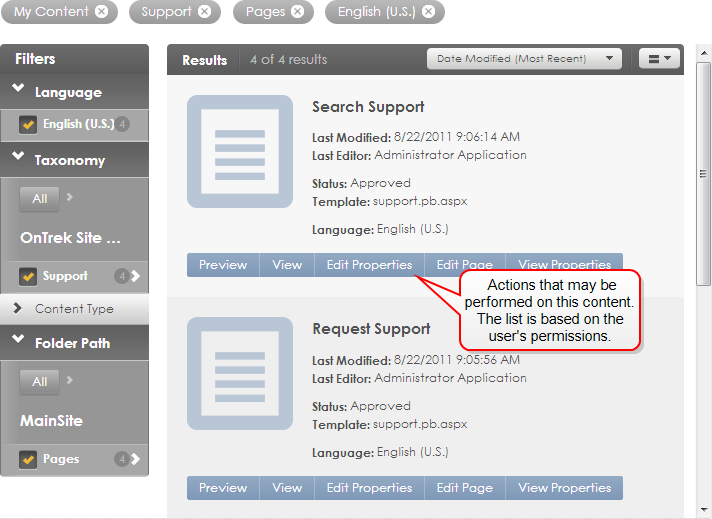
You can choose several filters to refine search results. The following example shows results that meet these criteria:
- My Content
- are assigned to the Support taxonomy
- belong to the Pages folder path
- language is English
Selected filters are checked in the filters panel and appear under the search bar. To remove a filter, click X on the filter under the search bar. If you do, the results automatically update.
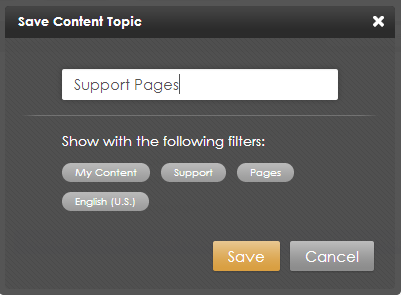
 Saving filtered searches
Saving filtered searches
If you often filter content in the same way, you can save a set of search filters on a tab. Whenever you click the tab, the filters are applied, and content that satisfies those filters appears.
- Specify filters by which you want to narrow search results. See Filtering content.
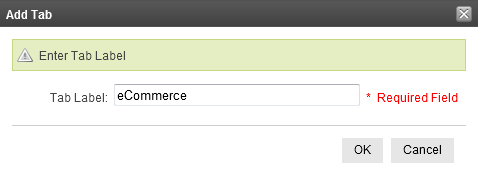
- Click Save on the right of the tab bar. The Save Content Topic screen appears, showing the selected filters.
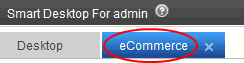
- Enter a name for the filtered search and click Save. The new tab appears on the tab bar.
 ), which lets you edit the content on the page. For information about editing on the Web page, see Editing a link.
) is replaced with a menu (


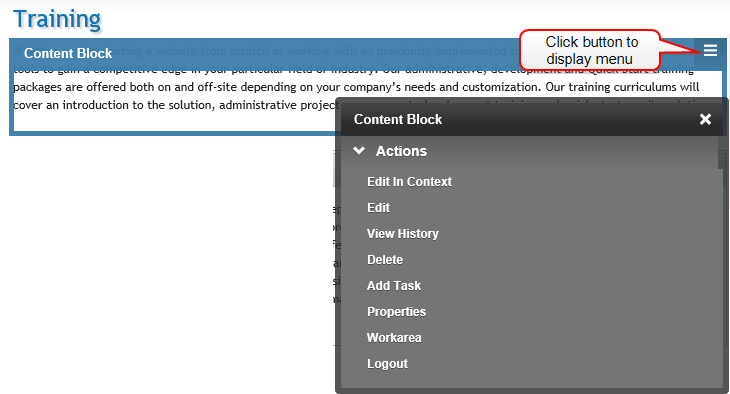
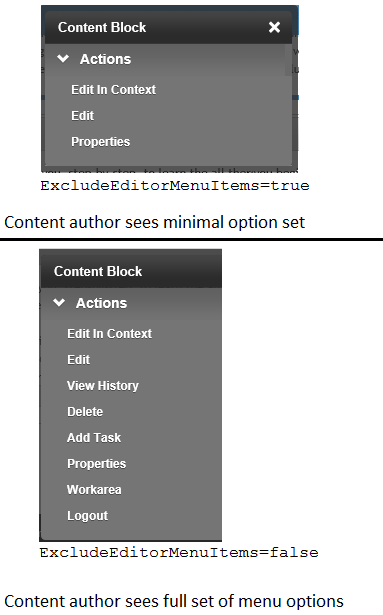
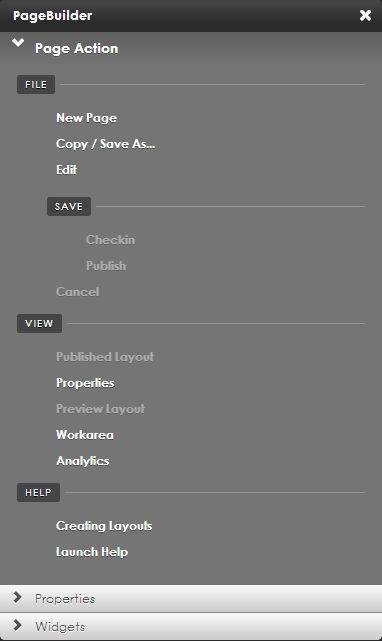
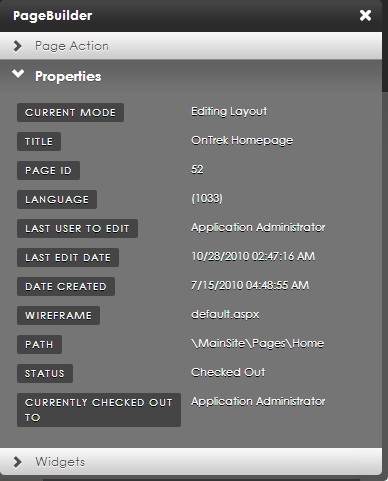
 ). Menu options vary depending on the content’s status, your permissions, and so on. For information about editing the PageBuilder page, see
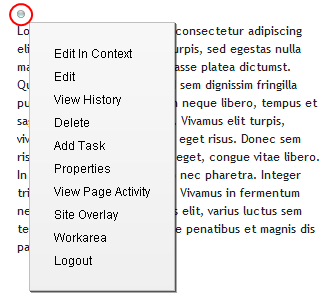
 Add. Appears if you selected a language and the content is not available in that language. Use this button to copy existing content into new content and translate it to the new language.
  Add Task. Add a task to a user.
  Delete. Open View Content page. From it, you can delete the content.
 Edit in Context. Check out content for editing; content remains within Web page.
  Logout. Log out of website.
 New Poll. Create new poll or survey.
  Preview. Preview content before it is published.
  Properties. Open content’s View Content page.
 View Content Difference. Contrast previous and current versions of content.
  Workarea. Open Workarea. From here, you can perform all Ektron tasks.
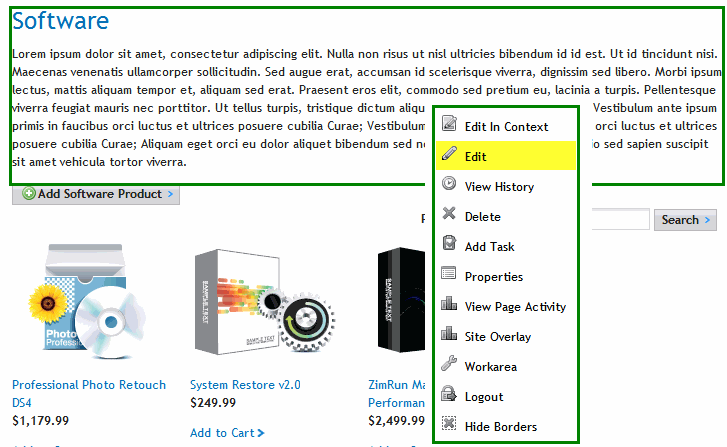
 ) next to the content item, and choose Edit from the menu. The editor appears.
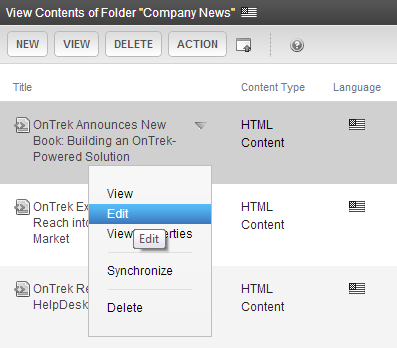

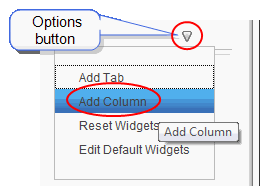
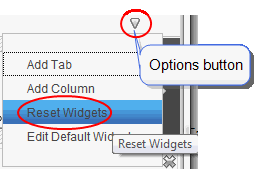
 ) > Edit Default Widgets on the right side of the Smart Desktop. A confirmation dialog box appears.


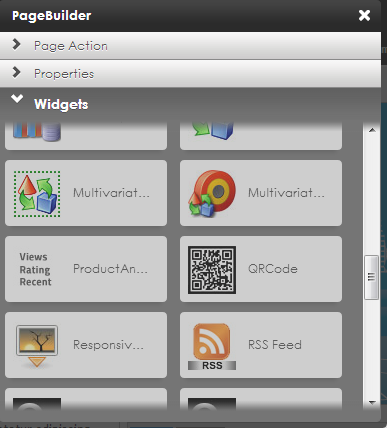
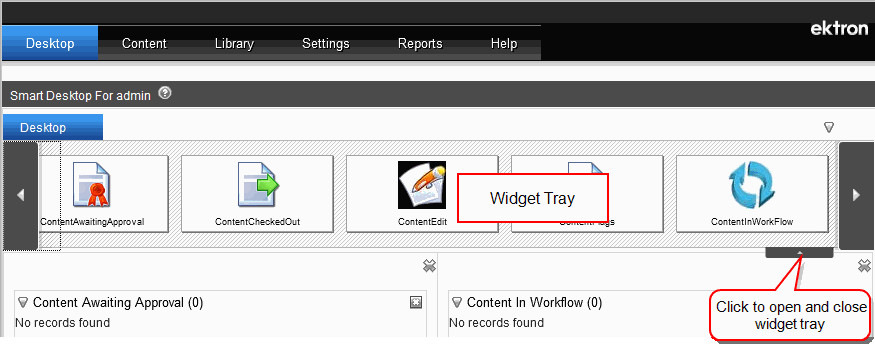
 ) or right arrow (
 ) buttons to see more widgets.
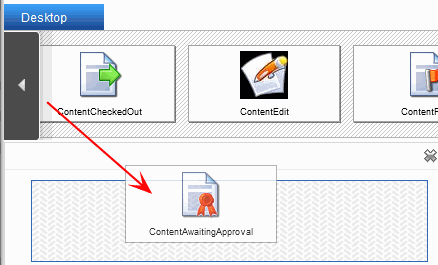
 ) (circled) inside the column you wish to delete.
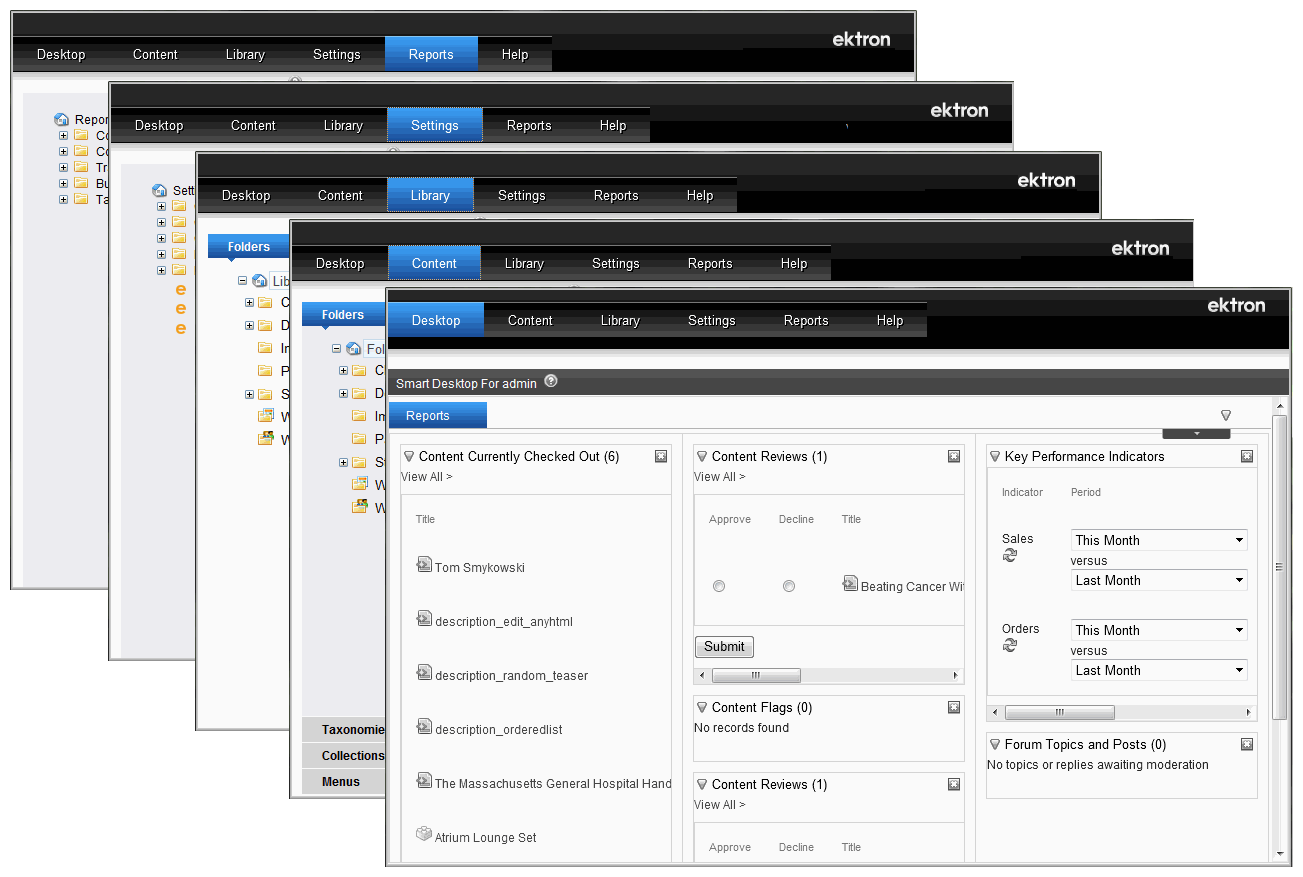
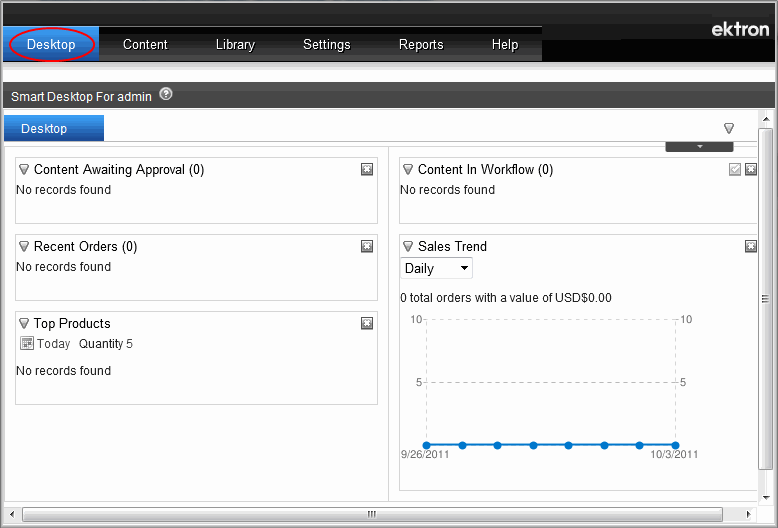
 Content Awaiting Approval. Content awaiting your approval;
  Content Checked Out. Content in checked-out status;
  Content Edited. Content edited within the last week
 Content Flags. The 10 most recently-added content flags;
  Content In Workflow. Content that has been part of an
  Content Reviews. Content reviews awaiting moderation;
  Content to Expire. Content that will expire between today and a number of days you specify;
  Forum Topics and Posts. Forum posts that require approval;
  Order on Hold.
  Recent Orders. Recent
  Customer List. The top 5
  Key Performance Indicators. Compares
  Reconciliation report. Lists payments for a specific time period;
  Sales Trend. The number of
  Top Products. The most popular products on your
  Analytics Report. The Direct Traffic report for the past 7 days;